One of my priorities is to stay healthy for as long as possible and help my husband do the same. Toward this end I’m working to develop the habit of eating 5 servings of fruits and vegetables each day, as recommended by nutrition experts.
I must confess that, for too many years, our eating habits resembled those of a pair of rebellious 10-year-olds. (Vegetables are gross! Give me ice cream!)
Add to that, the challenge of finding veggies Pete and I can both stand. We each have veggies we like and veggies we loathe. Problem is, the ones I like are too often on his “loathe list” and vice versa.
Fortunately, I’ve discovered all kinds of relatively painless ways to sneak more fruits and vegetables past our lips:
- Add a glass of juice or a small bowl of fresh fruit to our breakfast (one fruit serving).
- Add a small salad to other meals (one or two veggie/fruit servings, depending on the salad ingredients).
- Turn a ho-hum sandwich into a Dagwood by piling on shredded lettuce, tomato slices and thinly sliced purple onion (one veggie serving).
- Cook up enough vegetables for each meal to ensure leftovers. This means I can create a veggie plate from time to time, or add an extra veggie to a meal without extra cooking (several veggie servings in one sitting!).
- Add vegetables like spinach, broccoli or mushrooms to pasta dishes such as lasagna or mac and cheese (one veggie serving).
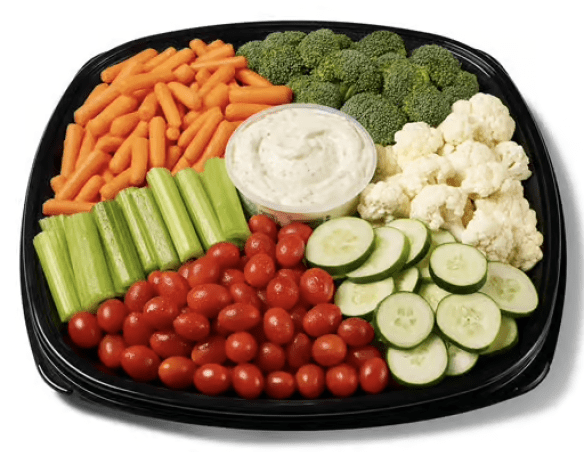
- Munch on raw vegetables rather than potato chips. Baby carrots and celery sticks dipped in hummus make a great snack when I have that irresistible urge to nibble, and I usually consume enough of them to equal at least one vegetable serving.
- Add cut-up fresh fruit and a couple spoonfuls of granola to a bowl of fat-free plain yogurt for another healthy snack (one fruit serving).
- Replace my afternoon soda with an 8-ounce glass of V-8 juice (two veggie servings!).
- Throw chunks of frozen fruit and yogurt into a blender – adding some Splenda if necessary – for a dessert that looks and tastes like soft-serve ice cream (one fruit serving, plus a bit of protein).
- Order a la carte at restaurants. Although restaurant meals tend to include only one vegetable, I can often order a second one on the side for a small “upcharge.”
- Ask for substitutions, if this is allowed. When I mention my dietary restrictions, I can usually persuade food servers to replace fries or chips with a serving of coleslaw, fresh fruit or no-sugar-added applesauce (one fruit or veggie serving).
- Bring healthy snacks to gatherings. I’ve found that bringing a bountiful veggie platter with dip gives me something to nibble on instead of the fat and sugar-laden hors d’oeuvres usually on offer. This helps me add an extra veggie serving to my daily quota as well.